LIBPF® Windows Installation manual
This document is the installation manual for LIBPF® (LIBrary for Process Flowsheeting) models version 1.1 on desktop and laptop computers running the Microsoft Windows operating system. It is also available Italian, french and german.
It addresses model users: people who want to install the LIBPF® desktop application to interact with models developed by others.
For more information see:
-
the LIBPF® Activation Guide for the rationale and the mechanisms of the activation system;
-
the LIBPF® User Manual for how to use models developed with LIBPF® via the LIBPF® desktop application.
System requirements
LIBPF® models have been developed and tested in the following system environments:
| Component | Type and version |
|---|---|
| Operating System | Microsoft Windows 10 or later |
| Architecture | x86 (32-bit) or x64 (64-bit) |
| Browser | Edge 88 or later |
| Google Chrome 89 or later | |
| Mozilla Firefox 78 or later | |
| Spreadsheet | LibreOffice Calc 6.1 or later |
| Microsoft Excel 2016 or later |
NOTE: *Opera, Google Chrome and Chromium are not supported because of this bug.
For 64-bit Windows systems where Microsoft Office is not present, it is required to pre-install the additional component “Microsoft Access Database Engine 2016 Redistributable” available from this link:
https://www.microsoft.com/en-us/download/details.aspx?id=54920
If this requirement is not fulfilled the installer will stop with the error: Error configuring ODBC data source: persistency, ODBC error 6: component not found in the system registry… verify that the file persistency exists and that you can access it.
Automatic procedures
Installation
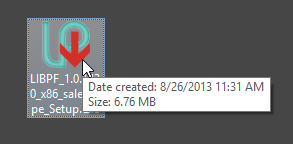
The installation of LIBPF® models takes place automatically via the provided installer:
NOTE: Even if the installer can be started by any user, to complete the installation it requires administrative access to the workstation.
NOTE: Use the appropriate installer for the architecture in use: for 32-bit operating systems and for 64-bit operating systems where 32-bit Microsoft Office is installed use the “32-bit” installer; for 64-bit operating systems use the “64-bit” installer.
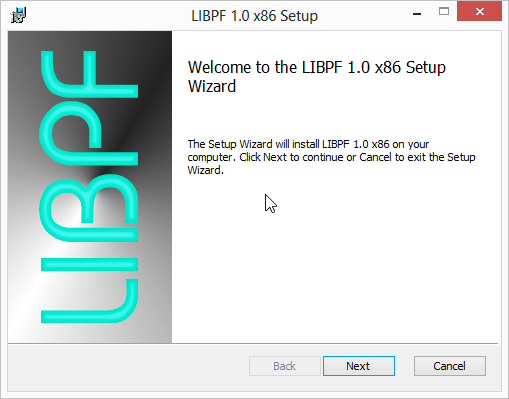
On starting, the installer shows the welcome message; all messages are localized since it detects the language settings:
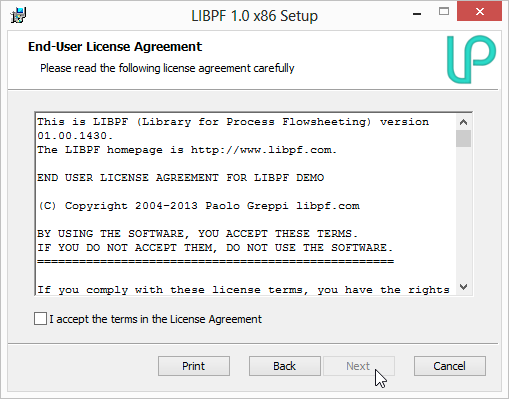
Clicking on “Next” the installer requires you to accept the kernel license (if present), the LIBPF® library license and LIBPF® user interface license (each time read the license, agree if you want to continue the installation, then press “Next”):
You can then choose the installation folder (you typically accept the proposed location and proceed clicking on “Next”):

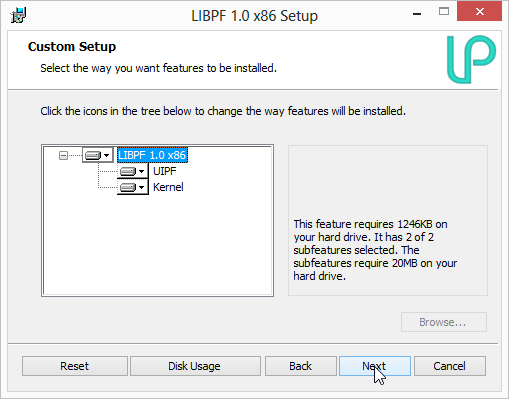
and the components to install (you typically proceed clicking on “Next”):
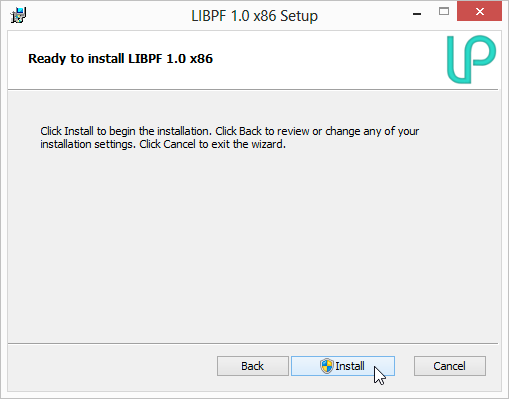
Now the installer has gathered all the required information and the actual installation can start, clicking on “Install”:
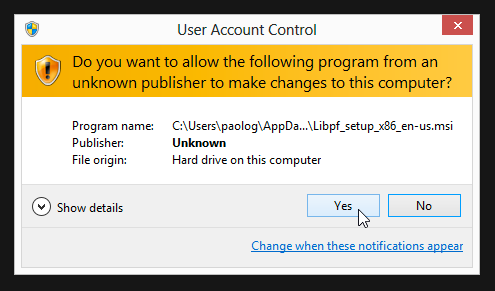
Only from now on administrative access to the computer is required, and the UAC (User Account Control) will prompt for account elevation - click on “yes”:
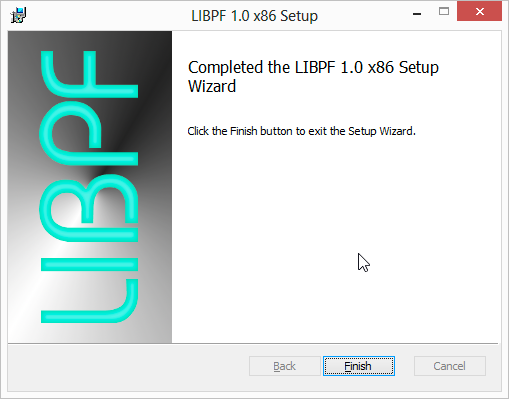
When the installation is complete a final confirmation window appears:
NOTE: if it is not already present in your system, the LIBPF® model installer will install the Microsoft Visual C++ 2019 Redistributable Package; if you wish you can install that beforehand from HERE
Removal
If the LIBPF® model was installed via the provided installer, then the removal takes place automatically via the provided uninstaller.
NOTE: The uninstaller requires administrative access to the computer.
On Windows 8 / 8.1 / 10, the control panel component “Programs and Features” can be launched from the Start screen, typing “uninstall”:
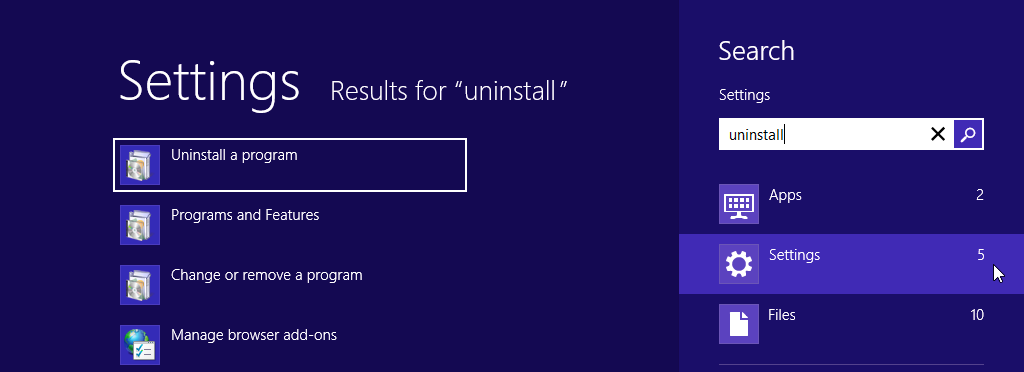
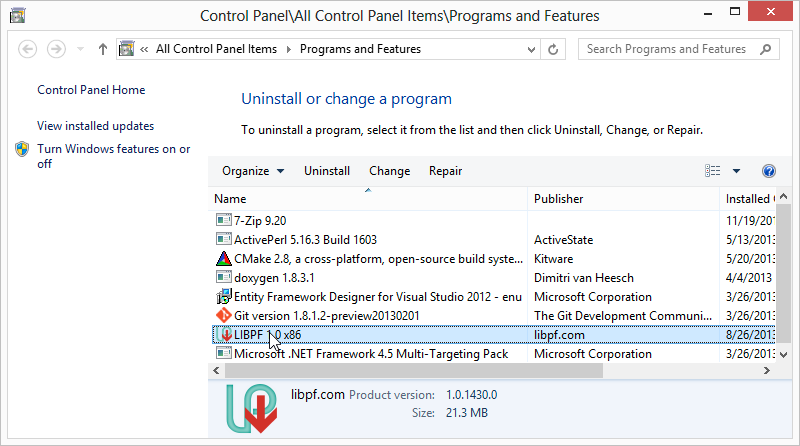
then clicking on Uninstall a program:
This control panel component is found in Start → Control Panel, Applications; furthermore the uninstaller can also be started from Start → Programs → LIBPF 1.1 → Uninstall.
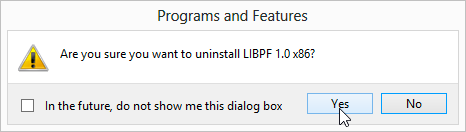
When you launch the uninstaller, a dialog comes up where you have to confirm removal:
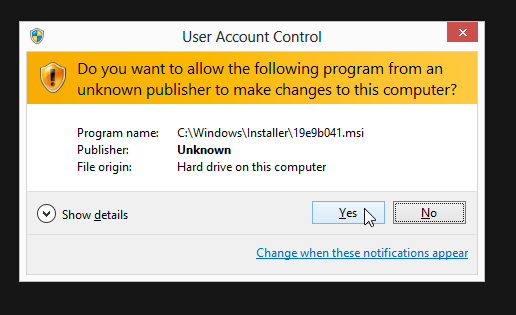
Now the UAC (User Account Control) will prompt for account elevation, click on “yes”:
When the removal is complete the LIBPF® 1.1 item disappears from the list of installed programs/
NOTE: at the end of the removal process, three items are left on your workstation:
-
The Microsoft Visual C++ 2019 Redistributable Package; pay attention if you want to uninstall this package, because other applications may need it, and you can find several version installed;
-
The registry keys related to the LIBPF® activation, so that you do not have to repeat it if another LIBPF® model is installed;
-
Any shortcut to the LIBPF® user interface in the Desktop application toolbar or on the Desktop you may have created.
Locations
The most important locations for LIBPF® models are saved by the installer in the registry. In order to visualize them you need to open the Registry Editor: click on start and type “regedit”. A backup copy of the registry is strongly suggested before any modification.
The locations are:
-
LIBPF® local machine registry key
HKEY_LOCAL_MACHINE\Software\libpf.com\LIBPF 1.0orHKEY_LOCAL_MACHINE\SOFTWARE\Wow6432Node\libpf.com\LIBPF 1.0if the 32-bit version is installed on a 64-bit operating system -
LIBPF® current user registry key
HKEY_CURRENT_USER\Software\libpf.com\LIBPF 1.0 -
LIBPF® installation folder (home)
C:\Program Files\LIBPF 1.0orC:\Program Files(x86)\LIBPF 1.0if the 32-bit version is installed on a 64-bit operating system -
Location of the LIBPF® kernels (kernel_path):
C:\Program Files\LIBPF 1.0\kernelorC:\Program Files(x86)\LIBPF 1.0\kernelif the 32-bit version is installed on a 64-bit operating system -
LIBPF® working folder (home_path), located in the all users profile:
C:\ProgramData\LIBPF 1.0
Activation
When starting calculations, licensed LIBPF® models will check if they have already been activated on that specific workstation.
For further information please refer to the LIBPF® Activation Guide.