LIBPF® SDK macOS Installation manual
This is the installation manual for LIBPF® SDK (LIBrary for Process Flowsheeting Software Development Kit) version 1.1 on Apple macOS operating systems, for the model developer who wants to install a LIBPF® SDK she received, that has been packaged by a LIBPF® core developer.
Mandatory prerequisites
LIBPF® development on Apple macOS is supported on the following versions:
- macOS 26 (Tahoe) on Apple Silicon
To develop models with the LIBPF® SDK, as a minimum you need:
-
The C++ compiler / Integrated Development Environment (IDE), including the command line tools;
-
A software package management system to install the required 3rd party software tools and libraries.
Compiler
The currently supported C++ compiler / IDE is Xcode version is 15 or later.
Alternatively you can use the compiler from Xcode, but Qt Creator as IDE - see instructions below.
To get Xcode, install the current version directly from the Mac App Store:
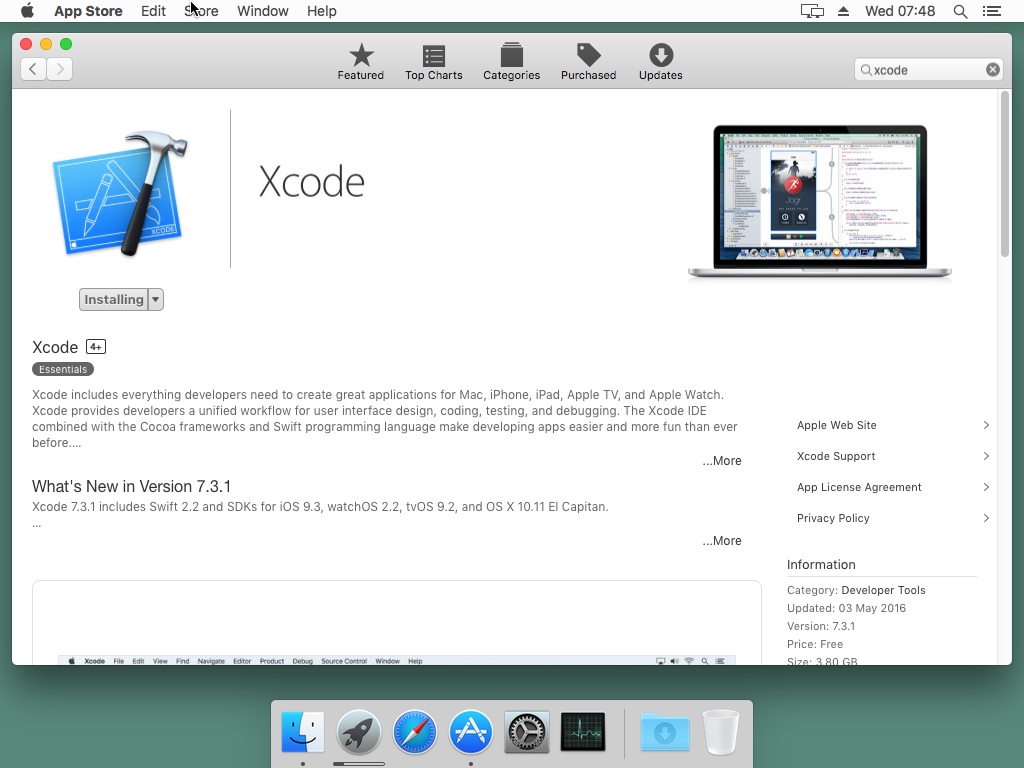
warning: do not install an Xcode beta from https://developer.apple.com/xcode/download/ ! beta versions of Xcode are not supported.
Once Xcode is installed, launch it once (click on Launchpad, click on the Xcode icon), confirm that you want to start an application downloaded from the internet (this dialog will not appear if you got Xcode from the app store), accept the Xcode and iOS SDKs license agreement; then close Xcode.
Now install the Xcode command line tools:
-
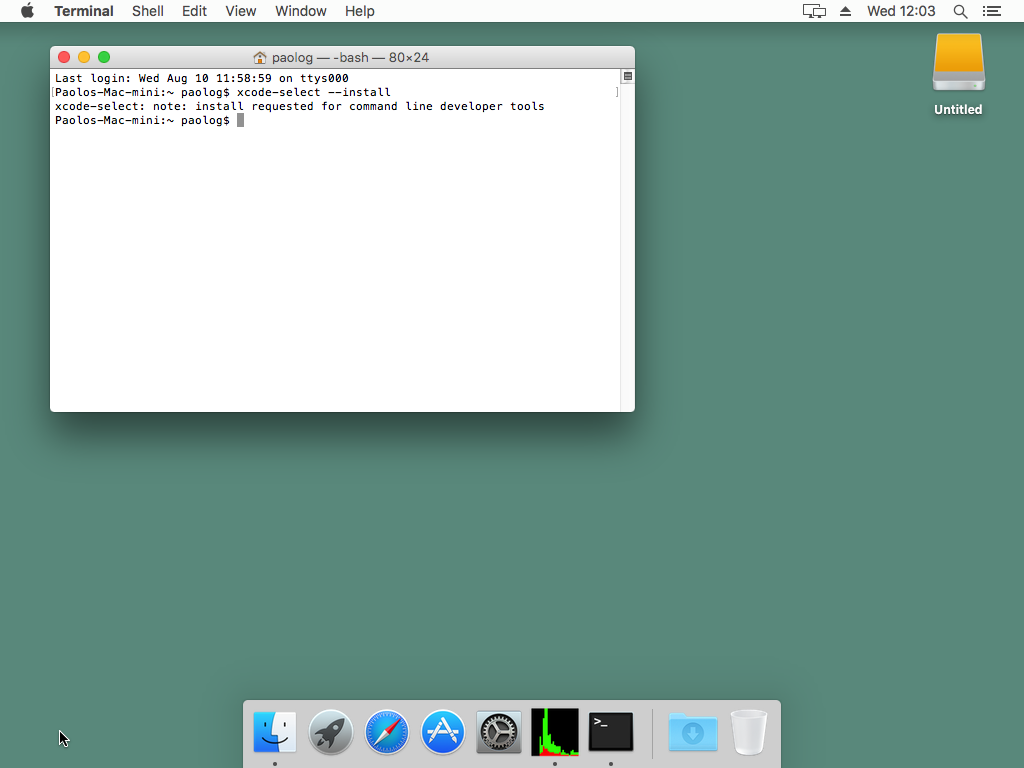
open a terminal window first: click on Launchpad, type “terminal”, click on the Terminal icon:

-
Type in the terminal the command:
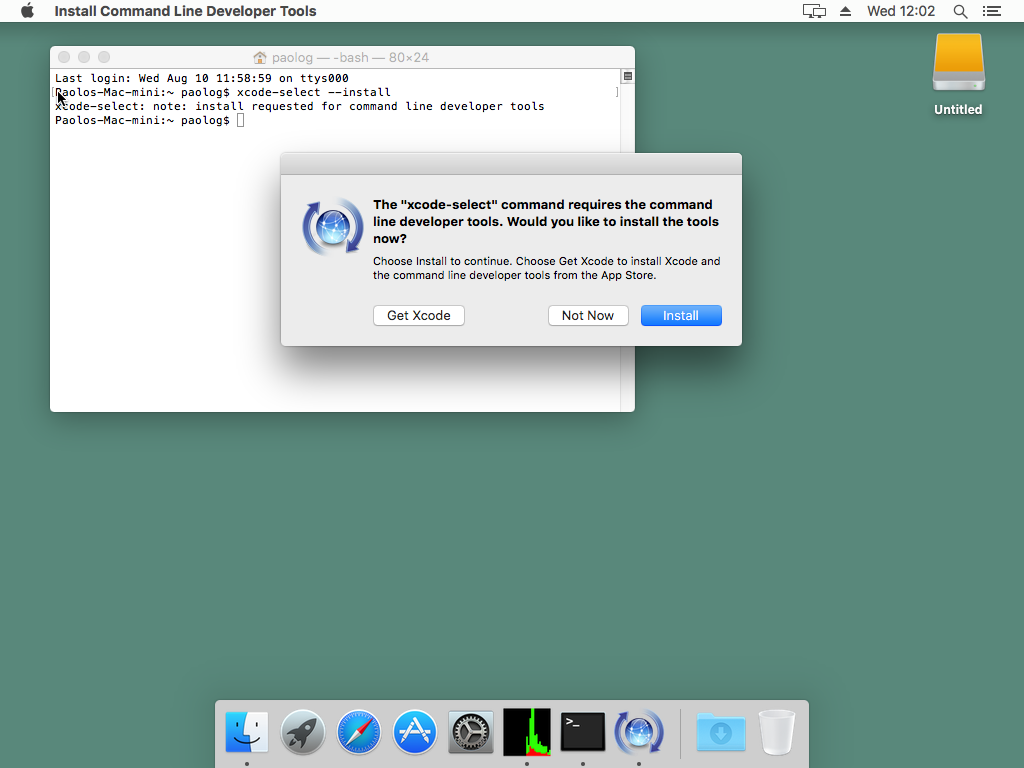
xcode-select --installas in this screenshot:
then confirm the installation:
accept the Command Line Tools License Agreement:
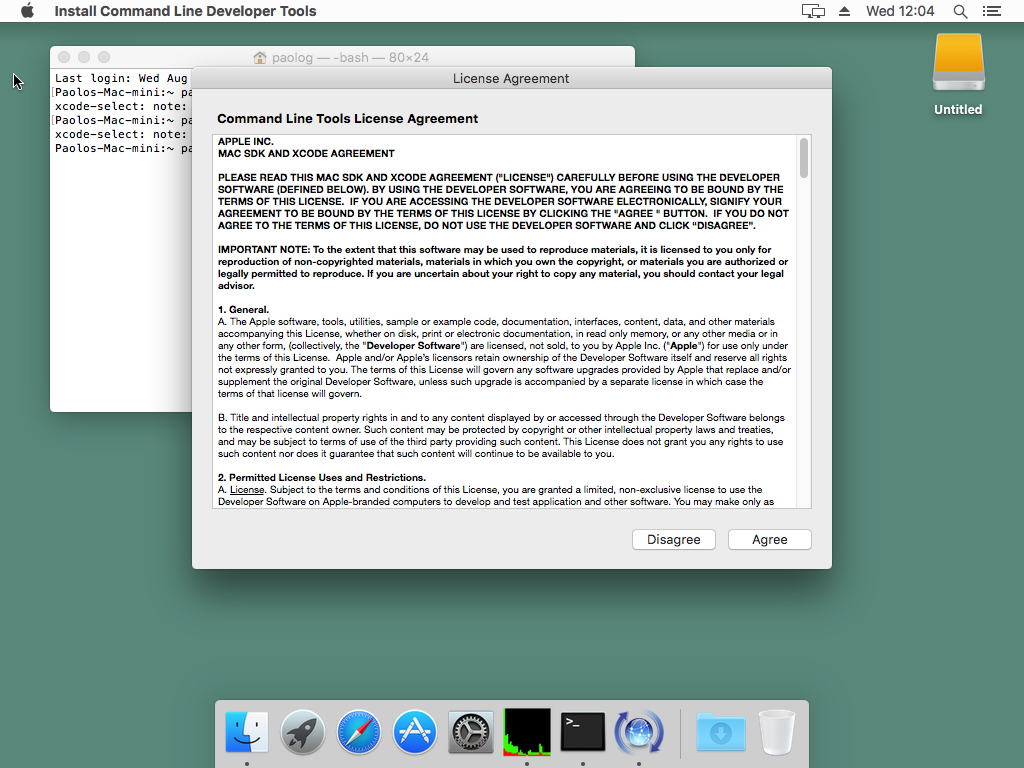
and wait for the download / install to complete.
-
verify the install of the Xcode command line tools by typing in the terminal:
gcc -vexpected output (may differ slightly for different versions):
 Apple clang version 17.0.0 (clang-1700.6.3.2)
 Target: arm64-apple-darwin25.2.0
 Thread model: posix
 InstalledDir: /Applications/Xcode.app/Contents/Developer/Toolchains/XcodeDefault.xctoolchain/usr/bin
Package management
We need a software package management system to install the required 3rd party software tools and libraries.
While there are several package management systems available for macOS (such as Fink, MacPorts, etc.) and all of them should be fine, the supported package management system is Homebrew.
Install Homebrew according to the instructions on its homepage:
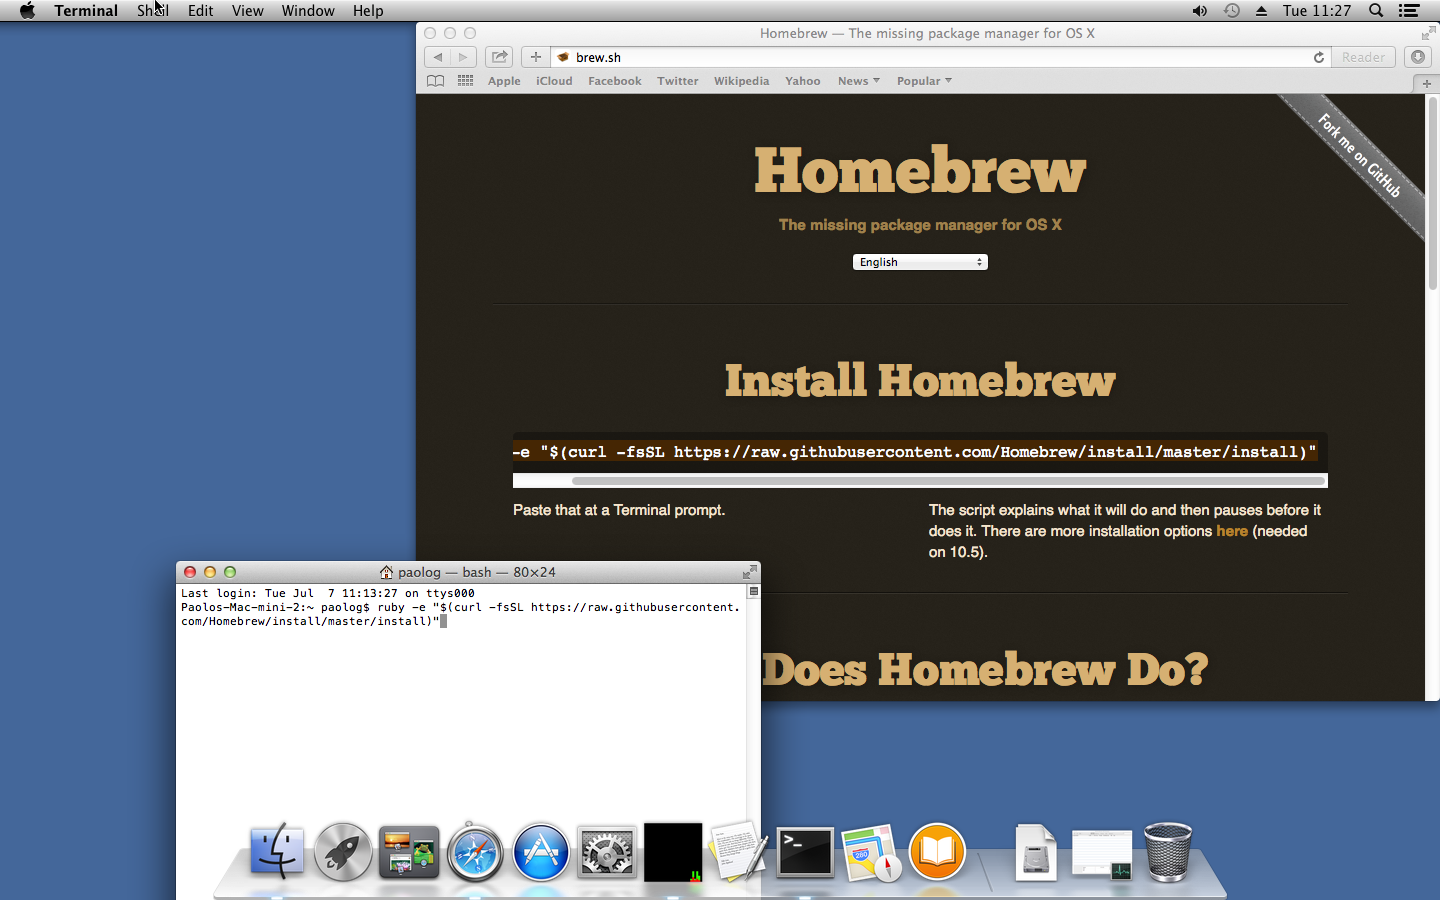
Once Homebrew is installed, type these commands in a terminal to install the required 3rd party software tools and libraries:
brew doctor
brew install meson boost suite-sparse jsoncpp libmxml swig openssl
brew update
brew upgrade
Note 1: the second command will take some time !
Note 2: the openssl formula is “keg-only” so we’ll need to explicitely pass /opt/homebrew/Cellar/openssl@1.1/1.1.1w/lib/pkgconfig in the PKG_CONFIG_PATH.
Optional prerequisites
Depending on your requirements, there are more tools you might need.
To run your models
If you plan to test and debug the developed models on the development workstation, you also need to install one of the LIBPF® 1.1 demos, so that it will set up the runtime prerequisites and the database.
LIBPF® must also be activated, see the LIBPF® Activation Guide (English or Italian) for the rationale and the mechanisms of the activation system.
To keep your code under version control
If you wish to orderly manage the changes to the source code of your models you might want to put the code you write under a Version Control System (VCS); macOS has preinstalled the excellent command-line version of git, the leading distributed revision control system.
If you want to make your life easier you can install a GUI client, there are a few for macOS at this link.
To enhance the User Interface or just use Qt Creator
If you plan to modify the open-source User Interface for LIBPF® (UIPF), or you just want to use the Qt Creator IDE, you will need the cross-platform application framework Qt version 5.
The easiest way to install that ATM is via brew:
brew install qt@5
Get and install the LIBPF® SDK
Once you have set up the prerequisites, download the LIBPF® SDK from the link you have been supplied.
The LIBPF® SDK comes in a xz compressed tar archive (such as LIBPF_SDK_macos_1.1.xxxx.tar.xz); use the macOS Archive utility to extract the tar.xz compressed archive.
The LIBPF® SDK does not rely on absolute paths so you can move it to any location, such as on the Desktop, at your profile’s root, on a removable volume etc.
Note: in the examples below, it is assumed the LIBPF® SDK has been moved to the desktop in a directory named LIBPF_sdk.
Testing your LIBPF® SDK install
The following procedures are for testing that the installation of the LIBPF® SDK on macOS operating systems was successful.
LIBPF® kernel
By default the SaltPepper example is supplied as test case with the LIBPF® SDK.
The procedure to build and run it is different whether you use the command-line or one of the two Integrated Development Environments (IDEs) supported on macOS: Qt Creator or Xcode.
Command-line
Follow this procedure:
-
Open a terminal, then move to the LIBPF® SDK location, for example:
cd ~/Desktop cd LIBPF_sdk -
enter the “pepper” sub-directory and compile the SaltPepper example with:
cd pepper b2 install-bin -
move to the bin directory and run it with:
  cd ../bin
  ./Qpepper new SaltPepper
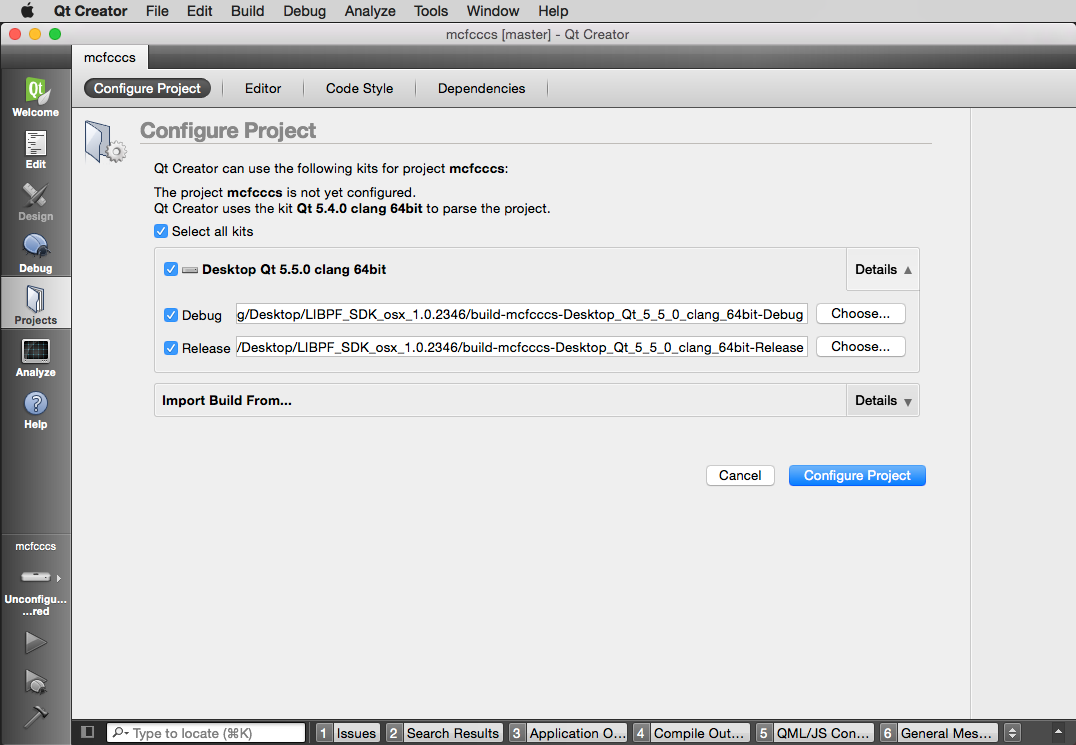
Qt Creator as IDE
Install Qt then follow this procedure:
-
open the “pepper.pro” project file in the “pepper” directory by double-clicking
-
configure the project for Desktop Qt 5.x.0 clang 64 bit for both debug and release configurations, as in this screen-shot:
-
build the project (Build -> Build Project “pepper”)
-
in the left-hand-side Tab “Projects” just under “Debug”, then top tab “Running” set “new SaltPepper” as run arguments; also set LIBPF_sdk/bin as Working directory (this step is required to make sure the kernel find the SQlite database persistency.db)
-
run it (menu Build -> Run)
Note: occasionally (especially after a major Xcode upgrade) you may encounter this error in Qt creator:

Error while parsing file ...pro. Giving up.
Project ERROR: Xcode not set up properly. You may need to confirm the license agreement by running /usr/bin/xcodebuild.
in this case open a terminal, launch the /usr/bin/xcodebuild command prefixed by sudo and follow the instructions:
sudo /usr/bin/xcodebuild

Xcode as IDE
Install Qt then follow this procedure:
-
open a terminal in the “pepper” directory, then generate the project file with qmake:
cd pepper /opt/homebrew/Cellar/qt@5/5.15.10_1/bin/qmake -spec macx-xcode -
this command will generate the “pepper.xcodeproj” Xcode project file in the “pepper” directory; open it with Xcode by double-clicking
-
build the project (Product -> Build)
-
click on the name of the “pepper” target in the drop-down menu next to Run and Stop, click on “Edit Scheme…” then on the arguments tab and type “new SaltPepper”; also set LIBPF_sdk/bin as custom Working Directory (this step is required to make sure the kernel find the SQlite database persistency.db)
-
run it (Product -> Run).
User interface for LIBPF®
Open a terminal, then move to the LIBPF® SDK location, for example:
cd ~/Desktop
cd LIBPF_sdk
then clone the last version of UIPF from https://gitlab.com/simevo/UIPF:
git clone https://gitlab.com/simevo/UIPF.git
This command will create a UIPF directory in LIBPF_sdk.
In this UIPF folder double click on the UIPF.pro Qt Creator project file and set up the project:
-
Target Setup: Desktop
-
Create build configuration “Manually”
-
Use Shadow building
-
For each configuration set the ..\bin folder
-
Import build from …\UIPF
-
Create Build Configuration: “None”
-
Projects – Run Setting: Add a run configuration with the executable path pointing to the folder containg uipf\bin\Debug.UIPF\uipf_debug.exe.
Then build the User Interface for LIBPF®.
How to get on
-
For more information on how to use the LIBPF® SDK see the LIBPF® SDK manual and the LIBPF® SDK C++ reference manual
-
Follow one of the Model Developer step-by-step tutorials)
-
Create a subfolder in LIBPF_sdk to put your own source code, adhering to the Source code directory structure standard, for example:
cd LIBPF_sdk mkdir project123 mkdir project123/src mkdir project123/include -
Start coding & have fun !